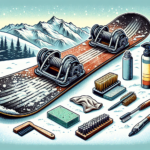
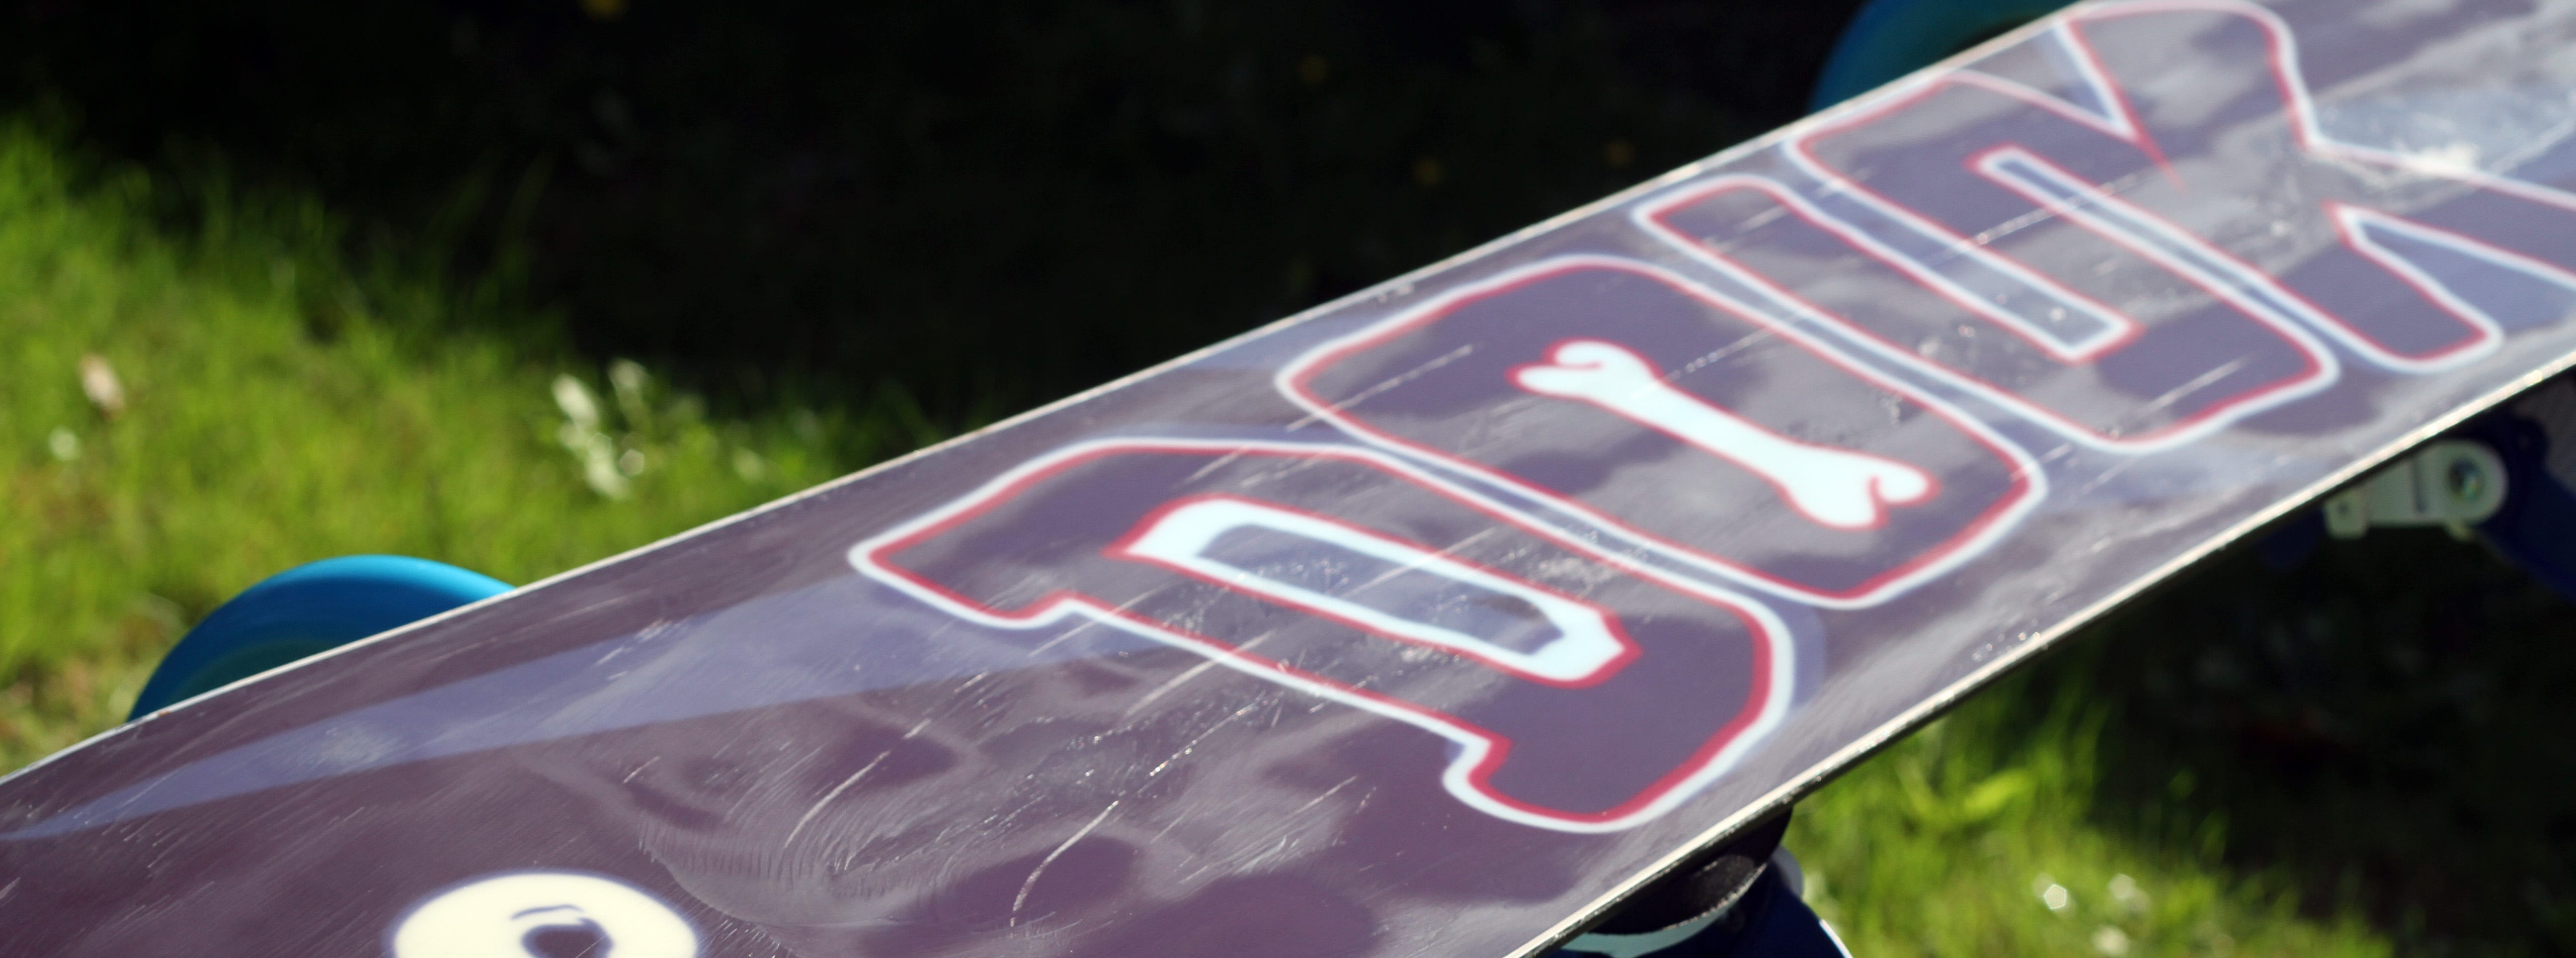
Imagine harnessing your creativity and adding a personal touch to your snowboarding experience by painting your own board. The answer may exhilarate you- yes, you can certainly paint your snowboard! This article will guide you through the entire process, from getting the right materials to the actual painting, all the way through to the drying and finishing stages. As you make your way through these steps, you’ll see your ideas come to life while adding a unique flair to your snowboarding gear.
Understanding the Basics
Before we delve into the art of painting your snowboard, let’s first get a grip on the basics.
What is a snowboard?
Simply put, a snowboard is a piece of equipment that’s used for the snow-based sport, snowboarding. Designed to slide on snow, it’s what you attach to your feet, and off you go whizzing down the slopes. A snowboard is typically flat and broad with a curved front, also known as a ‘nose’ and a square backend, referred to as the ‘tail’.
Materials used in making a snowboard
A typical snowboard comprises a core, a base, an edge, and a laminate top sheet, coupled together with epoxy. The core is typically made of wood or foam, while the base, which directly contacts the snow, is made of a high-density polyethylene. The edges of a snowboard are composed of steel and the top sheets, made from a variety of materials, often bear graphics that add to the aesthetic appeal of the board.
Why Paint a Snowboard?
Beyond the thrill and exhilaration that snowboarding brings, there’s a whole aspect of personalisation that’s sometimes overlooked. Here’s how painting your snowboard can come into play:
Expressing personal style
Your snowboard can be a reflection of your personality. Painting it in a style that echoes your character allows you to express yourself on the slopes. Whether it’s your favourite colours, personal insignias, or unique designs – your painted snowboard can be a cool snow-centric extension of you!
Enhancing visibility on slopes
By using bright colours or distinctive patterns, you can increase your visibility when snowboarding. This is not just beneficial for keeping track of your board but also serves as a safety measure so that others can spot you on the slopes.
Covering damages and scratches
Let’s face it, snowboards can get pretty banged up with usage. Painting your snowboard can be a great way to cover up scratches, wear and tear, making it look brand new all over again.
Can You Paint a Snowboard?
Yes, you can certainly paint a snowboard. However, there are a few things you should keep in mind:
Possible concerns
The main concern would be about the potential impact on the snowboard’s performance. You wouldn’t want the paint to interfere with the board’s ability to slide smoothly down snow.
Effects on performance and durability
Rightfully done, painting should not affect the performance and durability of your snowboard. However, using the wrong type of paint or incorrect painting techniques might. That’s why it’s essential to follow the proper process and use suitable materials.
Overall feasibility
With the right equipment and a bit of patience, painting your snowboard is a rewarding and completely achievable project.
Choosing the Right Paint for Your Snowboard
Selecting the correct paint is crucial when it comes to painting your snowboard:
Suitable paint types for snowboards
The most recommended types of paint for snowboards are acrylic or enamel paints. These types of paint are easy to work with and produce long-lasting, durable finishes.
Factors to consider when selecting paint
The key factors include the paint’s durability, its flexibility as the board will flex during usage, adherence to the board material, the finish (glossy or matte), and of course, the color!
Preparation before Painting
Just like any painting job, preparation is key. Here’s what you’ll need to do:
Cleaning the snowboard
Start by cleaning your snowboard thoroughly to remove any dirt, dust, or grime. This allows the paint to adhere better to the board.
Sanding the surface
Once the board is clean, you’ll need to gently sand the surface. This creates a rough texture that helps the paint stick.
Applying primer
Before you start to paint, apply a coat of primer. This will serve as a base for the paint to adhere to and will ensure that your painted design pops and is more vibrant.
Painting Your Snowboard
Now that your board is prepped and ready, it’s time to get creative!
Outlining your design
Before you start painting, it’s a good idea to outline your design on the snowboard. This will give you a guide to follow and can help reduce potential mistakes.
Applying the paint
Using a brush or sponge, apply your chosen paint onto the design. Be sure to take your time and apply the paint evenly on the board.
The importance of layering
When painting, it’s best to work in thin layers. Multiple light layers will likely produce a cleaner, sharper finish than one heavy layer and prevents the paint from cracking once dry.
Finishing up the paint job
Once you’re satisfied with your painted design, it doesn’t stop there.
Applying a clear coat
After the paint has dried, apply a clear coat, such as a lacquer or varnish. This seals in the paint and provides extra durability, ensuring that your design lasts as long as possible.
Curing the paint
Allow the clear coat to cure fully. This may take a few days but is crucial in ensuring the longevity of your paint job.
Safety precautions during the process
Throughout the entire process, remember to work in a well-ventilated area and wear protective clothing, including gloves and a mask, particularly when applying the clear coat.
Maintaining Your Painted Snowboard
A painted snowboard requires care and attention:
Cleaning and care instructions
Clean your snowboard as you usually would but be cautious not to be too vigorous when cleaning the painted areas. A gentle wipe down should suffice.
Touching up your paint job
Over time, your paintwork might need touch-ups. Be sure to keep some of your original paints on hand for future use.
Common Mistakes When Painting a Snowboard and How to Avoid Them
If you’re new to painting snowboards, here are some common mistakes to avoid:
Mistakes in preparation
Neglecting to properly clean or sand the snowboard or skipping the primer can result in the paint not adhering well.
Mistakes during painting
Rushing the painting process or applying the paint too thickly can lead to unsightly bumps and drips or cracking once dry.
Mistakes in maintenance
Neglecting to properly care for or touch up your painted snowboard can lead to the paintwork becoming worn or damaged prematurely.
Wrap-up: Personalize Your Snowboarding Experience
In conclusion, painting your snowboard is a fun and creative way to express your personality, enhance visibility on the slopes, and give your gear a fresh new look.
Remember to choose the right type of paint and prepare thoroughly before painting. Multiple thin layers of paint, a clear coat at the end, and patience during the curing process will produce the best results.
With any art project, it’s crucial to not be disheartened by any initial hitches. Every mistake is an opportunity to learn.
So grab your brushes and let creativity take over. Happy painting and happy snowboarding!
- What Snowboard Bindings Should I Get? - January 23, 2024
- What Size Screws For Snowboard Bindings? - January 23, 2024
- How To Snowmobile On Water? - January 23, 2024


